Upload Your UI (System Builder)
Prerequisites
The PDTS must be commissioned in System Builder before adding a custom UI. Ensure that you have the latest version of System Builder version installed, and that System Builder is connected to the PDTS via TCP or UDP.
| Refer to the PDTS Commissioning Guide for information on configuring and connecting to the PDTS. |
Uploading a project to the PDTS requires a user account with File Upload (HTTP POST) permission enabled. You can add a new user in the PDTS Users editor.

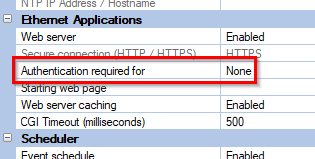
In the Device Properties editor, ensure that Ethernet Application > Authentication required for is set to None.
After making any changes to the PDTS properties, right-click the PDTS and select ![]() Save To Device…
Save To Device…
Upload Your UI to the PDTS
Once your project is ready to upload, follow the steps below:
-
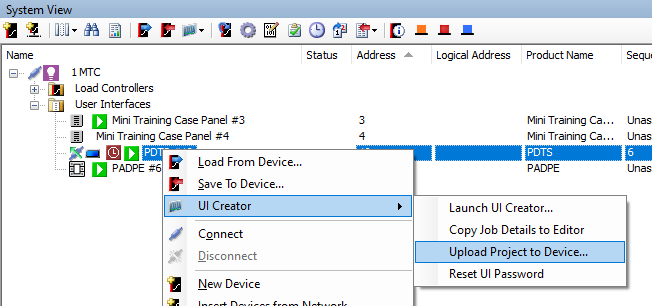
Right-click the PDTS and select UI Creator > Upload Project to Device…
-
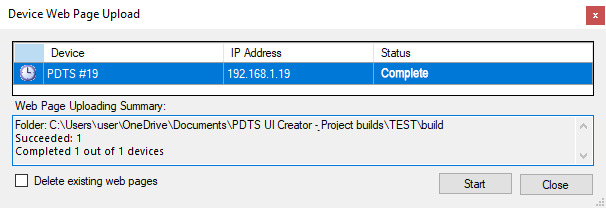
Confirm that the correct PDTS and project path are selected, then click to proceed.
Ticking the Delete existing web pages checkbox removes all admin-created user accounts and resets the default Admin/Normal accounts to their original PIN codes (see Access Level Security). Leave this option unticked unless required. 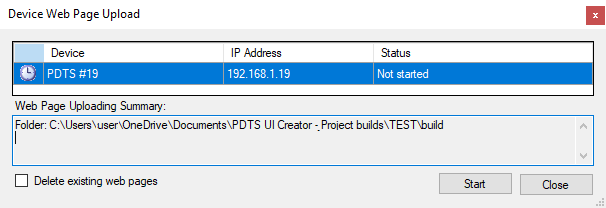
-
Once the Status updates to Complete, click the button.
The PDTS will automatically reset, after which you can begin using your new UI.
| You can manually set or edit the UI project location for the selected PDTS in Device Properties > Project Settings > UI Creator project path. |
Upload a Standalone Build Folder
If you do not have UI Creator installed, you can still upload a UI build shared from another PC.
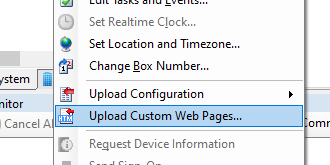
Right-click the PDTS, select Upload Custom Web Pages…, and follow the onscreen prompts.